Blurry photos can be a very annoying to anyone. Usually it happens when you're copying happy moments of life. Life is a unpredictable so you just have be ready with a camera to capture unpredictable moments.
First of all let us see why picture gets blurred??
Sometimes it happens because the object is moving Or sometime it happens because the camera focus is not on a proper object Or sometimes it happens because of camera shake Or sometimes the conditions are bad so there is no way to take sharper pictures.
So if you try our tips then it can really help you to take great pictures and unpredictable moments of your life.

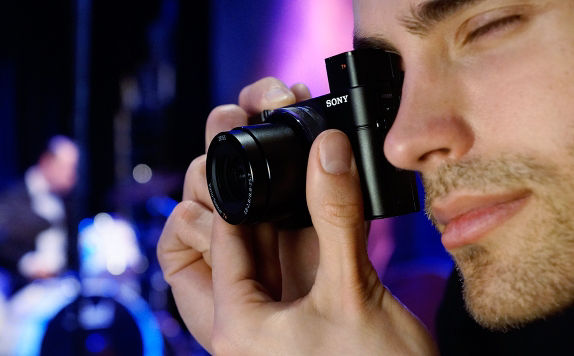
Focus is very important thing while taking pictures. Sometimes your pictures gets blurred because they are not in focus or your camera has not focused the object properly.
Modern cameras can focus very quick but you still have to adjust it well so that the captured object is perfect. You can adjust it by making sure that your camera has focused perfectly on the object before clicking the pictures.You always do this in two steps:
(1) Half-press to focus
(2) Full press to shoot.
Or, on a Smartphone, tap the screen to focus, then tap the shutter button to take the picture.

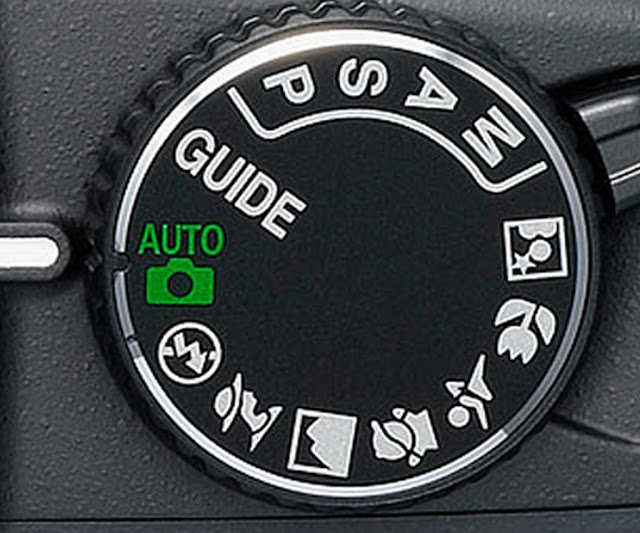
You also need to make sure your camera is focusing on the right thing. On a smartphone it's easy - you can leave it to find a focus point automatically or tap an object on the screen. Regular cameras are trickier because there are three main modes:
(1) Automatic focus point selection: here, the camera picks a focus point automatically, usually picking the object nearest the camera - it's quick and simple, but doesn't always focus on what you want.
(2) Manual focus point selection: you move the focus point around the frame yourself, just like tapping the screen on a smartphone - it's more precise, but you won't always have time.
(3) Continuous auto focus: here, the camera focuses continually all the time you're half-pressing the shutter release - you're photographing moving subjects, this is the one you need.
Most blur is caused by camera movement during the exposure. This happens most often in poor light, when the camera has to use a slower shutter speed, and you can reduce or eliminate this camera movement by bracing it against any nearby object - it could be a table top, the back of a chair, a door frame or your friend's shoulder. And take a couple - if one's not sharp, the other might be. This is especially important with long-range telephoto shots because blur increases in proportion to the lens's magnification. Even in good light, hand-holding a powerful telephoto is risky, and it's much better to use a monoPod or rest it on a fence or some other nearby object.
If you want to take a photo of your partner in a dimly-lit restaurant, use flash light or move the candle closer to their face (but not too close!) and if you're strolling through city streets at dusk, look for streetlamps, floodlighting, light spilling from doorways or even neon signs. You can use these to light your subject or even make a great picture in themselves. City streets at night are full of light, so look for it and use it.
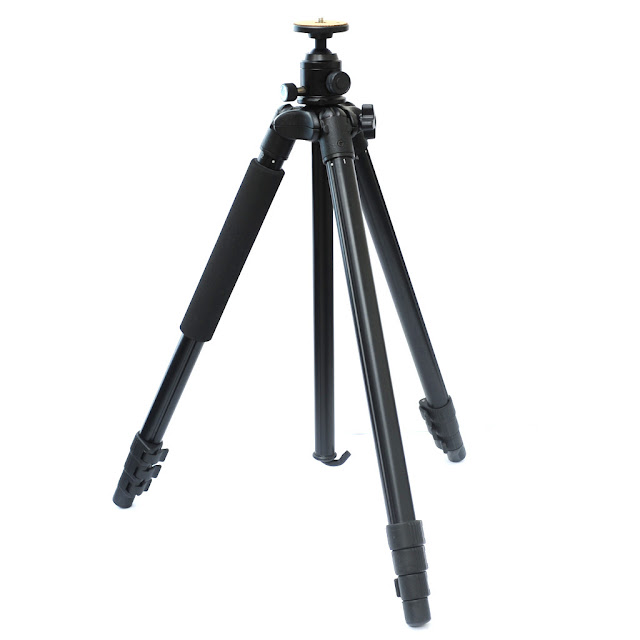
Ideally, if you use tripod, and this will help you to stop camera movement altogether. This means you don't have to worry about the shutter speed, which means you can set the lowest ISO setting on your camera. You'll need to do set the ISO manually because if you leave the camera to choose the setting it will automatically increase the ISO in low light conditions. Because the of lowering the ISO, there will be less noise in your images and the sharper the detail. Night shots taken with a tripod can capture pictures amazingly sharp and detailed, and the light trails created by traffic look fantastic.

Your camera's ISO setting is important because you can use it to get faster shutter speeds. A one-step increase in ISO, from ISO 100 to ISO 200, say, will give you a one-step increase in shutter speed, from 1/60sec to 1/125sec, for example. This helps to stop camera shake and also objects movement which causes the blur ration in pictures. Not all cameras will let you set the ISO manually, but some are more advanced models have an Auto ISO setting that can set the lowest ISO possible while still giving you the shutter speeds you need. A higher ISO will produce noisy images, but better a noisy image than a blurry one!

It's so much easier to get great shots in low light these days, thanks partly to better sensors and higher ISO settings, and partly to image stabilizers. But image stabilizers have an important limitation, whether they're built into the lens or the camera body itself. Image stabilizers are very good at reducing camera movement, and it's often possible to shoot handheld using shutter speeds far lower than any you would attempt normally (1/4sec instead of 1/60sec, for example), but the length of the exposure stays the same, and image stabilizers can't stop blur caused by your subject moving. As you can see in smartphones Apple have provided better image stabilization and even in video even in works.

This is a very important for avoiding the blurry photos. If your object is moving fast then your camera should have high speed shutter for capturing the pictures without blurred. More advanced cameras let you set the shutter speed manually. More basic point and shoot models don't - but many of these do have 'Action' or 'Sports' scene modes that set faster shutter speeds automatically. In smartphones you will find in camera option as a filter or in settings. In mid range smartphones it is not much effective as compared to high ranged smartphones. So the shutter speed can be adjusted in settings for smartphones.

Burst mode can g give the sharp shot even if the object is moving. In some camera the stab for burst mode is on dial but in some cameras you will find in settings or menus.
When you stab at the shutter button to grab a single image you're risking camera movement, but when you hold down the shutter button in burst mode and follow the subject, the camera won't get jogged in the same way. You can try this technique in low light even if you really want just a single shot rather than a sequence, from sequence pick the best of and discard the rest of.
That's the beauty of digital cameras - it costs nothing to experiment, and it means you can capture spectacular pictures that no one would even have attempted in the days of film. Not every photo will work out, but with these simple tips you can really boost your hit rate of sharp shots and, just maybe, capture something really special.
First of all let us see why picture gets blurred??
Sometimes it happens because the object is moving Or sometime it happens because the camera focus is not on a proper object Or sometimes it happens because of camera shake Or sometimes the conditions are bad so there is no way to take sharper pictures.
So if you try our tips then it can really help you to take great pictures and unpredictable moments of your life.
1. Focus


Modern cameras can focus very quick but you still have to adjust it well so that the captured object is perfect. You can adjust it by making sure that your camera has focused perfectly on the object before clicking the pictures.You always do this in two steps:
(1) Half-press to focus
(2) Full press to shoot.
Or, on a Smartphone, tap the screen to focus, then tap the shutter button to take the picture.
2. Focus point

(1) Automatic focus point selection: here, the camera picks a focus point automatically, usually picking the object nearest the camera - it's quick and simple, but doesn't always focus on what you want.
(2) Manual focus point selection: you move the focus point around the frame yourself, just like tapping the screen on a smartphone - it's more precise, but you won't always have time.
(3) Continuous auto focus: here, the camera focuses continually all the time you're half-pressing the shutter release - you're photographing moving subjects, this is the one you need.
3. Bracing Yourself in clicking mode

4. Look for light
Some of most memorable shots, sometimes coincides with most difficult situation like lighting but will not be a victim if you follow the tip!If you want to take a photo of your partner in a dimly-lit restaurant, use flash light or move the candle closer to their face (but not too close!) and if you're strolling through city streets at dusk, look for streetlamps, floodlighting, light spilling from doorways or even neon signs. You can use these to light your subject or even make a great picture in themselves. City streets at night are full of light, so look for it and use it.
5. Tripod

6. Adjust ISO

7. Stabilization

8. Shutter speed

9.Burst Mode

When you stab at the shutter button to grab a single image you're risking camera movement, but when you hold down the shutter button in burst mode and follow the subject, the camera won't get jogged in the same way. You can try this technique in low light even if you really want just a single shot rather than a sequence, from sequence pick the best of and discard the rest of.
That's the beauty of digital cameras - it costs nothing to experiment, and it means you can capture spectacular pictures that no one would even have attempted in the days of film. Not every photo will work out, but with these simple tips you can really boost your hit rate of sharp shots and, just maybe, capture something really special.
Comments
Post a Comment